Starlink Mini Adjustable 4-Magnet Car Mount with Powder-Coated Galvanized Steel Frame & Clear PC Panel
Starlink Mini Adjustable 4-Magnet Car Mount with Powder-Coated Galvanized Steel Frame & Clear PC Panel
رمز التخزين التعريفي:
Adjustable magnetic vehicle mount
Build a removable Starlink Mini roof setup without drilling.
Secure Starlink Mini to a compatible flat steel vehicle surface with four magnetic contact points, adjustable tilt, and a quick-release retaining frame.

A cleaner removable vehicle setup
The mount combines magnetic roof contact, angle adjustment, a retaining bar, and a clear protective panel in one compact frame.
- Four contact points distribute the base across a compatible flat steel surface.
- Adjust the panel from −20° to +20°, then tighten the side locking knob.
- Open the retaining bar to install or remove Starlink Mini without dismantling the frame.
- Protective contact pads and the clear PC panel help reduce rubbing, dust, and light debris exposure.

Quick fit check
- Designed for
- Starlink Mini only
- Mounting surface
- Clean, flat, magnet-compatible steel
- Do not use on
- Aluminum, glass, fiberglass, composite, fabric, textured, curved, rusty, wet, or damaged surfaces
- Best position
- A horizontal area with a clear view of the sky
- Cable direction
- Keep Starlink ports facing rearward and route the cable without tension or pinch points
Test the exact mounting area with a magnet before purchase. Magnetic grip changes with steel thickness, paint, curvature, dirt, water, heat, vibration, and cable pull.

Cover. Open. Insert. Lock.
Use the Starlink app obstruction tool to identify the clearest available sky view, then install the Mini in four steps.

Clear PC shield for added surface protection
The clear polycarbonate panel sits above Starlink Mini as an added physical barrier against surface contact, dust, and light road debris. It does not make the complete setup impact-proof, hail-proof, waterproof, or maintenance-free.

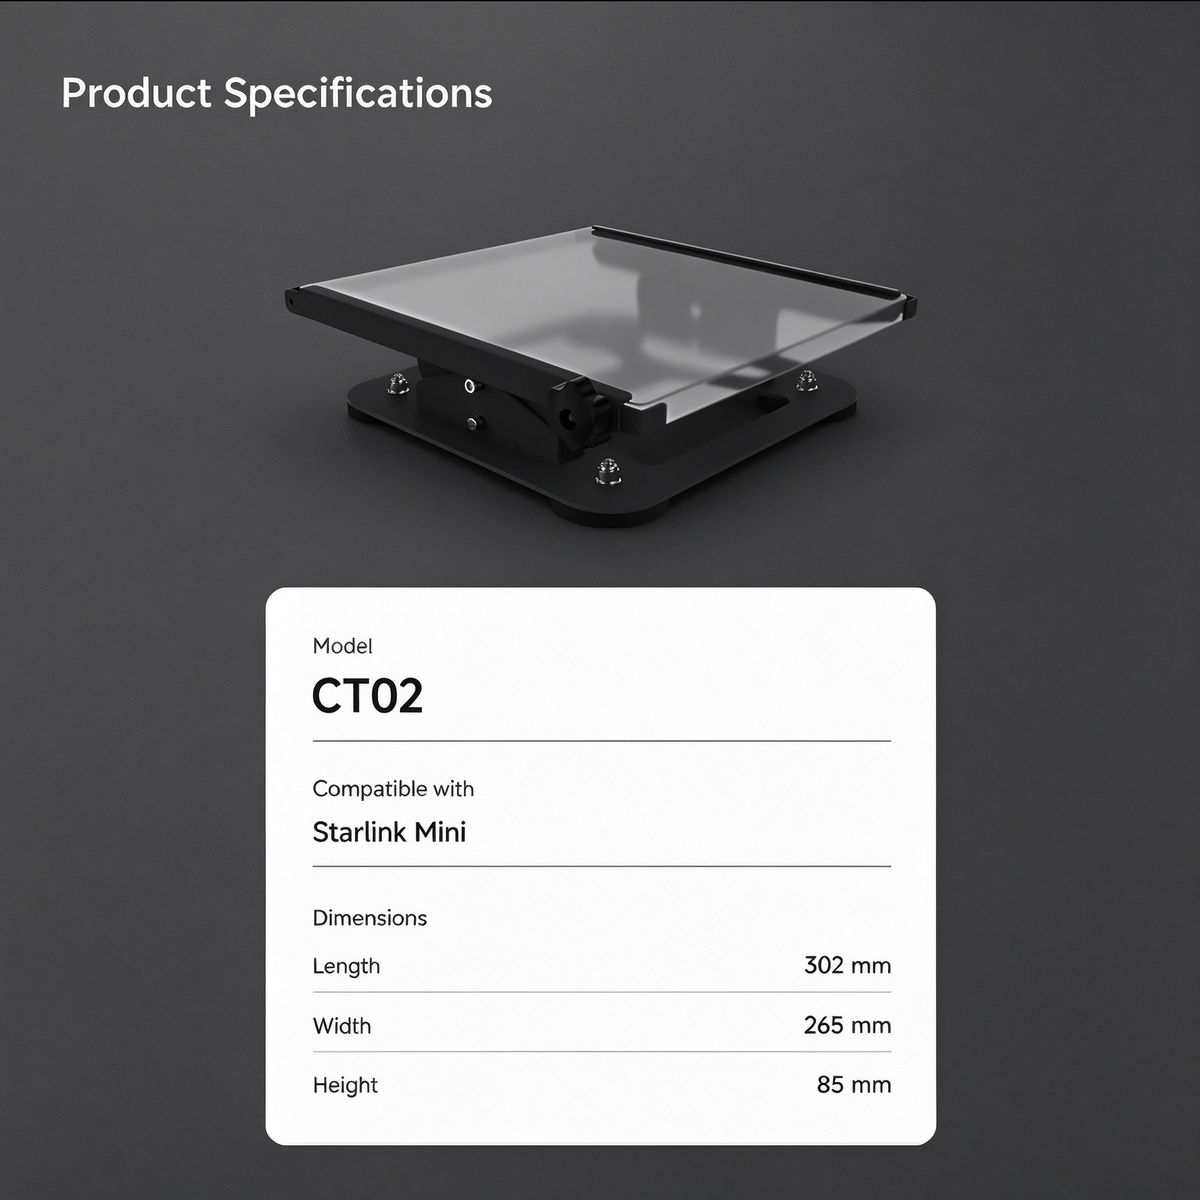
Product specifications
- Model
- CT02
- Compatibility
- Starlink Mini only
- Overall size
- 302 × 265 × 85 mm / 11.9 × 10.4 × 3.3 in
- Angle range
- −20° to +20°
- Magnetic base
- Four contact points with protective pads
- Listed magnetic force
- 23 kg / 50.7 lb under stated test conditions
- Frame
- Powder-coated galvanized steel
- Top panel
- Clear polycarbonate (PC)
The listed magnetic force is not a universal vehicle-speed or wind rating. Actual holding performance depends on the mounting surface and operating conditions.

Build a complete Starlink Mini vehicle kit
Pair the mount with vehicle power, cleaner cable routing, or portable off-grid power for the way you travel.
 12V–36V to 30V DC Power AdapterPower Starlink Mini from a compatible vehicle or RV DC supply.View vehicle power →
 Retractable DC Power Cable ReelExtend, retract, and store a 3 m or 5 m cable run between stops.View cable reel →
 129Wh Snap-Fit Travel Battery V4Add portable 30V power and an LCD display away from vehicle outlets.View travel battery →
Before every trip
- Clean and dry the vehicle surface and all four magnetic pads.
- Confirm the retaining bar, side knob, fasteners, Mini, and cable are secure.
- Drive a short distance, stop safely, and recheck the complete setup.
- Remove the mount before automatic car washes and replace damaged or worn pads.
- Follow current Starlink service-plan conditions, local road laws, vehicle limits, and country rules for any in-motion use.
- Starlink Mini and power accessories are sold separately unless a selected bundle states otherwise.
FAQ
Is this mount made for Starlink Mini?
Yes. Model CT02 is designed for Starlink Mini only. It is not listed for Standard, Gen 2, Gen 3, Mini X, or Performance terminals.
Will it work on an aluminum, glass, or composite roof?
No direct magnetic fit is claimed for aluminum, glass, fiberglass, composite, fabric, or other non-magnetic materials. Test the exact area and use only a clean, flat steel surface that provides firm contact at all four points.
How much can the angle be adjusted?
The mount adjusts from −20° to +20°. Loosen the side knob, set the position, tighten it firmly, and use the Starlink app to check obstruction and alignment.
What does the listed 23 kg magnetic force mean?
Product media lists 23 kg / 50.7 lb under stated test conditions. Actual grip varies with steel type and thickness, paint, curvature, debris, water, heat, vibration, cable tension, and magnet contact.
Can I use the mount while the vehicle is moving?
No universal speed or wind rating is stated. In-motion use depends on secure installation, the vehicle surface, conditions, current Starlink plan and country rules, and local road laws. Inspect before every trip and recheck after a short drive.
Does the clear panel make Starlink Mini waterproof or hail-proof?
No. The panel adds a physical barrier against surface contact, dust, and light debris, but it does not make the complete setup waterproof, impact-proof, hail-proof, or maintenance-free.
What is included?
This listing is for the CT02 adjustable magnetic mount and clear PC panel shown on the page. Starlink Mini, power adapter, cable reel, travel battery, and other accessories are not included unless a bundle explicitly states otherwise.
Check the roof, set the angle, and lock the Mini in place.
Confirm a flat steel mounting area first, then choose your quantity and add the mount to cart above.